This post is part of a series.1
Hole 6: par 5, 571 yards.
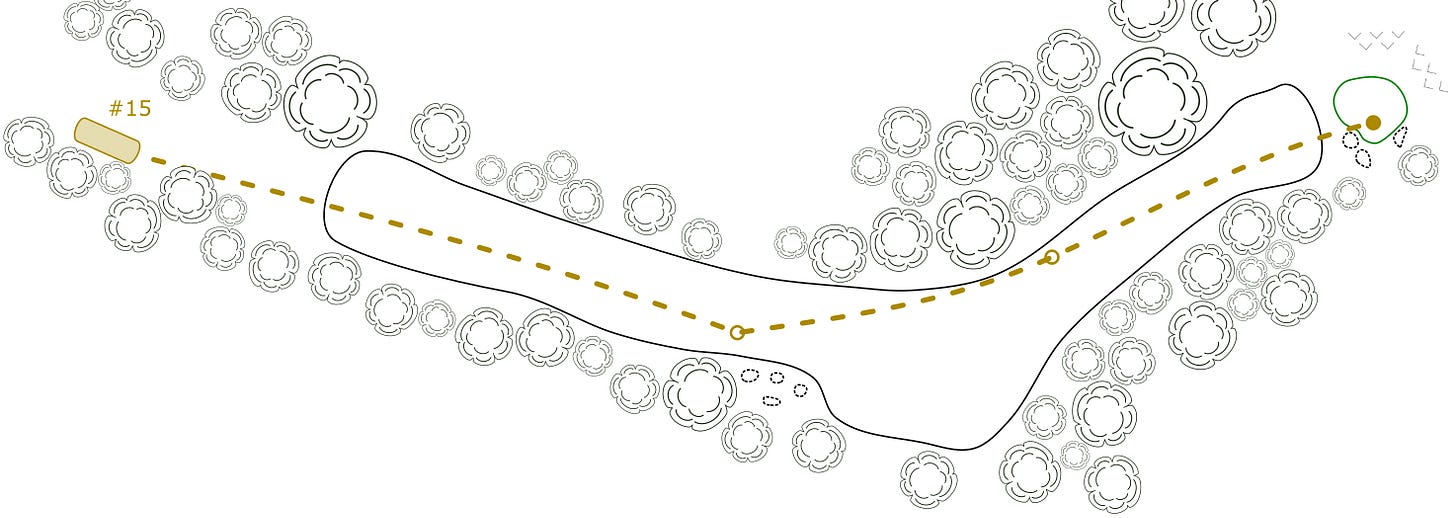
Hole 15: par 5, 496 yards.
#6: Cut the Corner:
The sixth is the longer version of this hole, and it’s entirely approachable for folks who want to play it as a straightforward par five: hit one down the middle, pitch the second to the corner, then play to the green. Unfortunately, that leaves an extremely challenging third shot – typically a 200+ yard shot to an elevated green. To get a better approach shot, players will need to think strategically back at the tee. The big dogleg is the strategic linchpin of the hole, and finding a way around it is the best way to score
The Drive
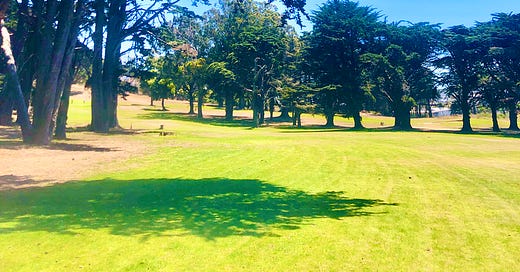
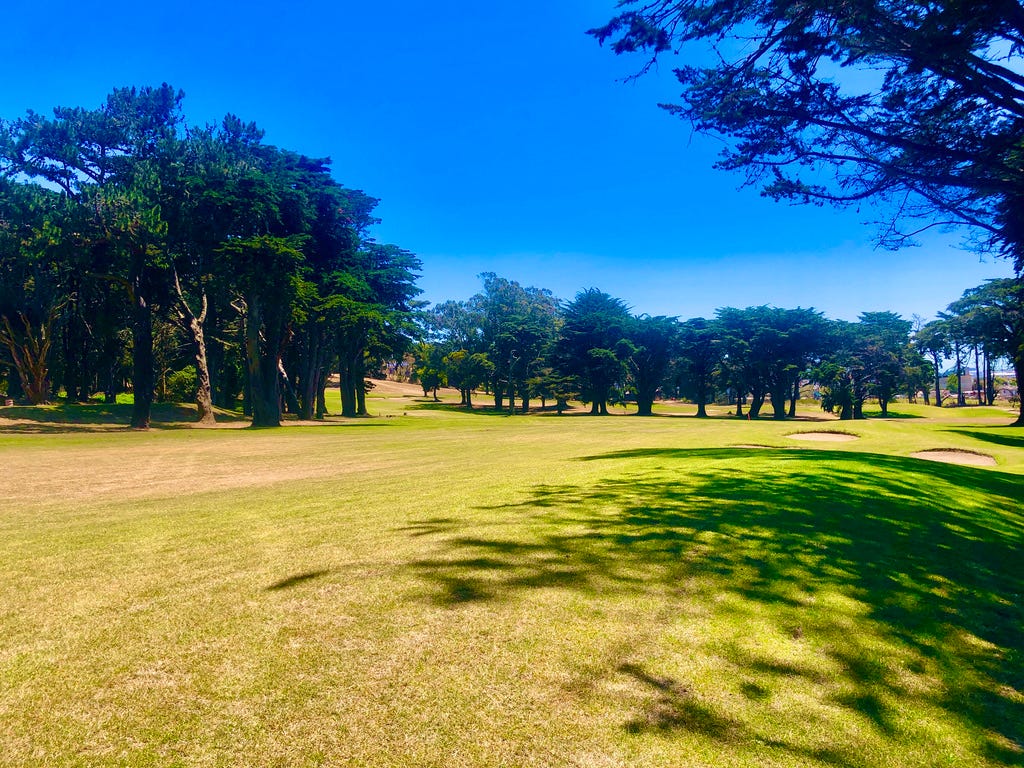
To get around the dogleg, players must play away from the corner to get a good angle, and a chance to get around it on the second shot. However, the fairway falls off on the right side, a remnant of the old road the hole was built on. Players who can hold the right side without rolling into the trees will be rewarded with a chance at getting around, but players who roll off the right will have a good chance at being completely blocked out by a tree.
The Corner
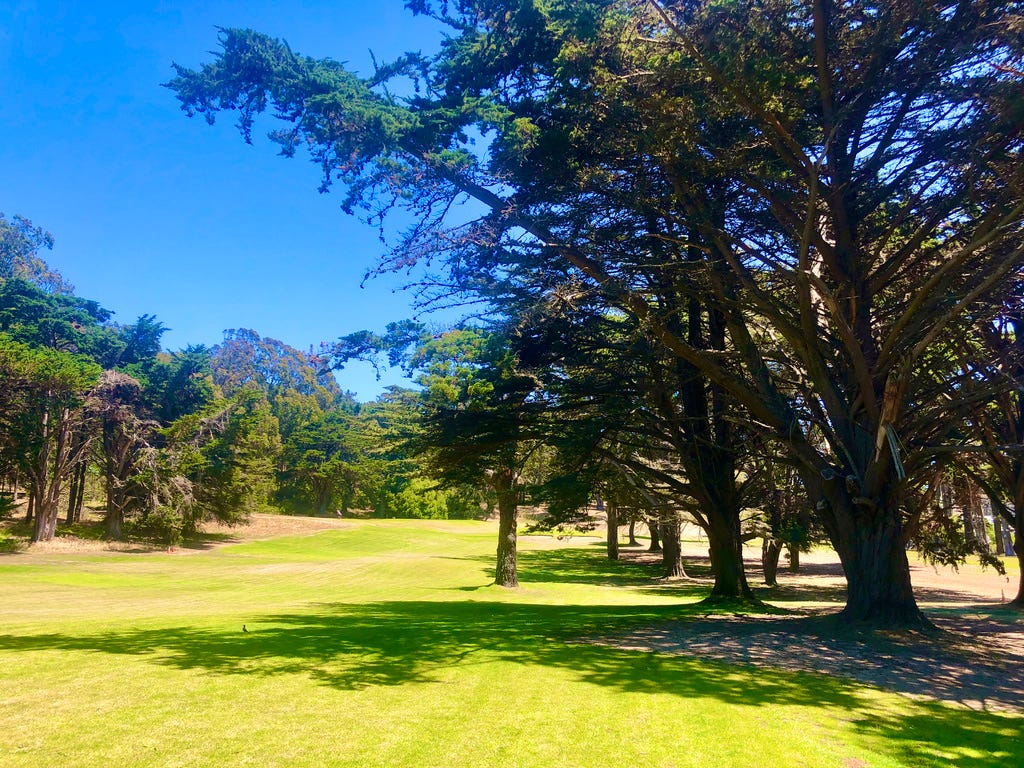
At the corner there is a large tree that overhangs noticeably and frustratingly. If you’re off to the right, it’ll still take a tricky hook to get into good position (or an easy cut if you’re a leftie). Otherwise you can try and punch one under the branches to cut the corner. Regardless, definitely don’t just swing away, because ending up too far right (long) will leave a tree blocking you out. Best to play conservatively here. If you can see the pump box just past the trees, it’s about 130 out, and just to the left of that is a solid layup target.
The Approach
The approach all depends on where you ended up, but there are two tough areas you’ll need to plan for.
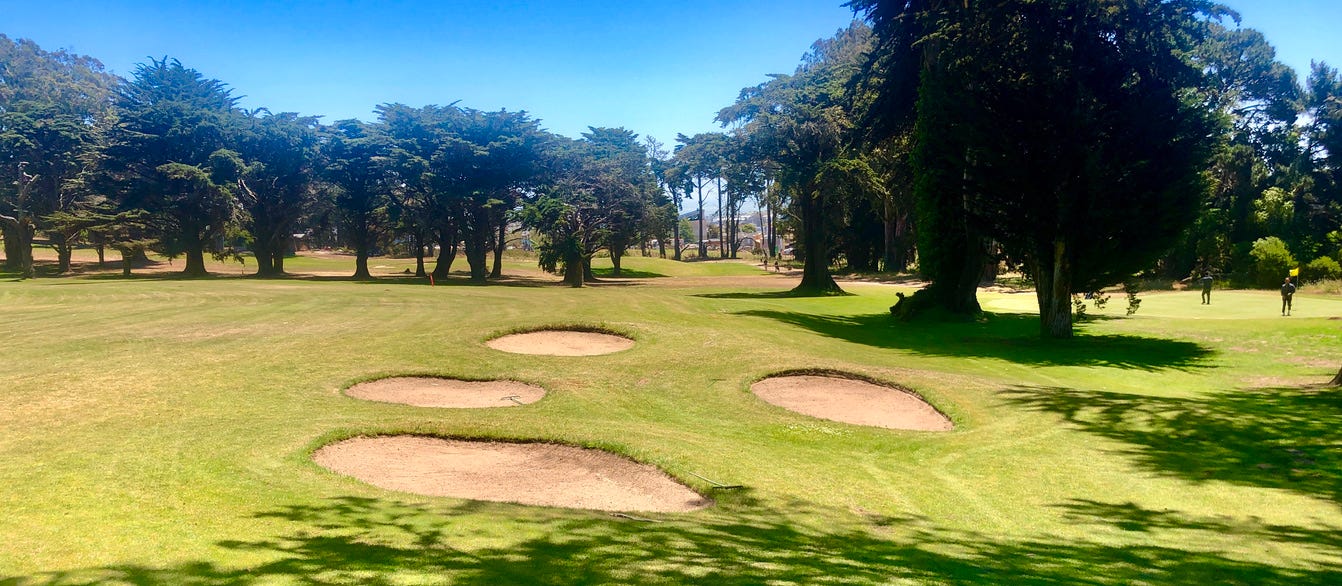
First, the long approach. This shot is not the most difficult, but you can easily leave yourself in a really bad spot. If the pin is in the tournament position (tucked behind the bunkers), you won’t have any real chance at getting close. The bailouts are left and behind the hole, but neither of those positions are very helpful and both will leave a nasty downhill chip.
The approach from the right can leave players completely blocked from reaching the green. A large tree interferes with the line from the far right of the fairway, and there isn’t any way to access the center or right side of the green without hitting a shot that moves strongly left-to-right. Players may consider ignoring the flag and playing to the left side of the green and dealing with a challenging putt.
The Green
This green is one of the most challenging in that it’s treacherous to even attempt to get below the hole in the toughest pin positions. The low point for most of the green is tucked right behind two bunkers. To make this area even more difficult to access, there is an overhanging tree that can threaten shots from certain launch angles, at certain distances.

Generally speaking, this green is a testament to a common expression among club members: “everything breaks toward the Cow Palace.” Ending up in a bad position here can leave a probable three-putt, but many players won’t even reach the green, or will be playing long irons that are difficult to control, so knowing where to bail out can help.
The ➀ pin position here is generally the tournament hole location. It places the hole in such a way that it is nearly impossible to have an uphill putt, except from the best possible approach shots. There is no easy bailout without an awkward flop over the bunkers or a running downhill chip.
The ➁ hole location is also very popular. It’s much more accessible from the left side of the green, but it’s still a tricky putt, and rewards folks who’ve reached the green in regulation.
The ➂ and ➄ locations are much more accessible, and allow players to reach the hole location easily from anywhere in the fairway, and even allow folks to bail out left and short with a straightforward chip and putt.
The ➃ location is very interesting, as it’s not at all inaccessible, and leaves an uphill birdie putt from the short position, but it can be a very dangerous location for anyone who ends up at the back of the green, especially those who are off the back. A downhill chip to this position could end up running off the front.
#15: Reach the Turn
The short version of this hole, on the back nine, will let longer hitters try to get there in two. A very long yard drive, playing slightly downhill and ideally with wind at the back, is what players need to reach the corner. This is often assisted by the strong prevailing tailwinds in the afternoon. If a player is confident getting there, it is probably best to aim for the corner, to shorten the approach as much as possible, and play for eagle. One member even scored an albatross here.
The rest of us will have to plan a similar approach as the front nine brings, except that the drive is complicated by bunkering along the right side now. The first of the bunkers is about 240 yards from the tee, with about 265 yards to get over them. This means that most folks will likely need to either hedge toward the center of the fairway, or try to play just short of the fairway bunkers.
If players lay up right, they can get really aggressive in cutting the corner. Even a punch under the tree should be able to get within a short iron of the green. However, position is still important, and depending on the hole location, players may be smart to focus on angles over distance. No matter what, players should definitely not swing for just the fences, as ending up long on the right side will do more harm than good and they will likely be blocked out by trees.
History:

The subtitle of this post comes from the fact that the fairway exists on what was literally an old road. That road was moved south when the course was built, and the existing fairway seems to continue past the dogleg, to the old #3/#12 green.

The bunkers as built in 1963 seem to be much more tactical than they are today. One large bunker still blocks the front-right of the green, but another catches balls that go long. Yet another sits on in the current left-side bail out area, and should leave a nasty downhill wedge to recover. The short-left bunker seems curiously positioned, but balls do end up in that area when players overswing and hook their long approaches.
The other thing to notice is that the fairway bunkering along the right side originally did not exist. Those bunkers seem a bit redundant considering the way the land falls away from the old road’s location.
Thoughts on these holes:
Holes 6 and 15 seem like more interesting versions of 14 and 5. There are plenty of strategic choices in getting around the dogleg, and exceptional shots can save players who misstep. Some branch and tree removal here is warranted, but the trees on the right mostly act as stochastic hazards, rather than penal punishment, because anything that flies too far right might have a very decent window if the player gets lucky. And finally, everything comes down to a challenging green, where excellent shot placement will be rewarded.
Playing through this hole, the contours are there, but they’re subtle. These may be the last shots played from a relatively flat lie. The walk up to the next tee highlights the sloping landforms that will challenge players on the last three holes.
Other posts in this series:
#1 & #10: A deep dive into the architecture that makes this intimidating opening hole so interesting.
#2 & #11: A Switch From Strategic to Penal Architecture
#3 & #12: Down the Hill
#4 & #13: Visible and Invisible
#5 & #14: Short and Long
#6 & #15: The Old Road
#7 & #16: Wind Tunnel and Blind Bunkers
#8 & #17: Invisible Redan
#9 & #18: Contours Forever
#19: Old Peculiar’s

