Gleneagles GC at McLaren Park #1 & #10
A deep dive into the architecture that makes this intimidating opening hole so interesting
The is the first post in a series.1
A typical sketch of this golf hole is borderline nonsensical. First, we see both the first hole, a par four, and the tenth hole, a par five, on the same map. This is Jack Fleming reusing fairways and greens to creating an 18-hole course on a tiny plot of land. Next, everything hugs the right side of the fairway. An improved illustration shows the tilted fairway, shot shape, and rollout for these ideal2 lines. Interestingly, while the ideal tee shot on #1 is straight or a standard fade, on #10, a draw has significant benefits and risks:

To understand why these holes play so differently, we must work backwards. The defining feature on these holes is the small, highly-contoured green. The green is about 3,140 square feet, and is only 24 yards deep and 18 yards across. The hole location can be on one of three tiers and each position should affect how players approach it. The front tier is the easiest position and the back-right is the hardest. Here, I only want to discuss the center-left hole location on the upper tier, which is used in tournaments, because it is the most strategic.

The main feature that makes this pin placement so challenging is a large contour that falls away from approach shots. The left side of the green slopes gently back-to-front, but the right side falls away.

Approach on #1 to Upper Tier
The downhill approach plays from a ridge. It is complicated by two features. First, the left-to-right tilt of the fairway tends to push shots in the same direction of the green slopes. Also, a downhill lie tends to push the shot farther than players want it to go, potentially sending the shot into the penalty area.

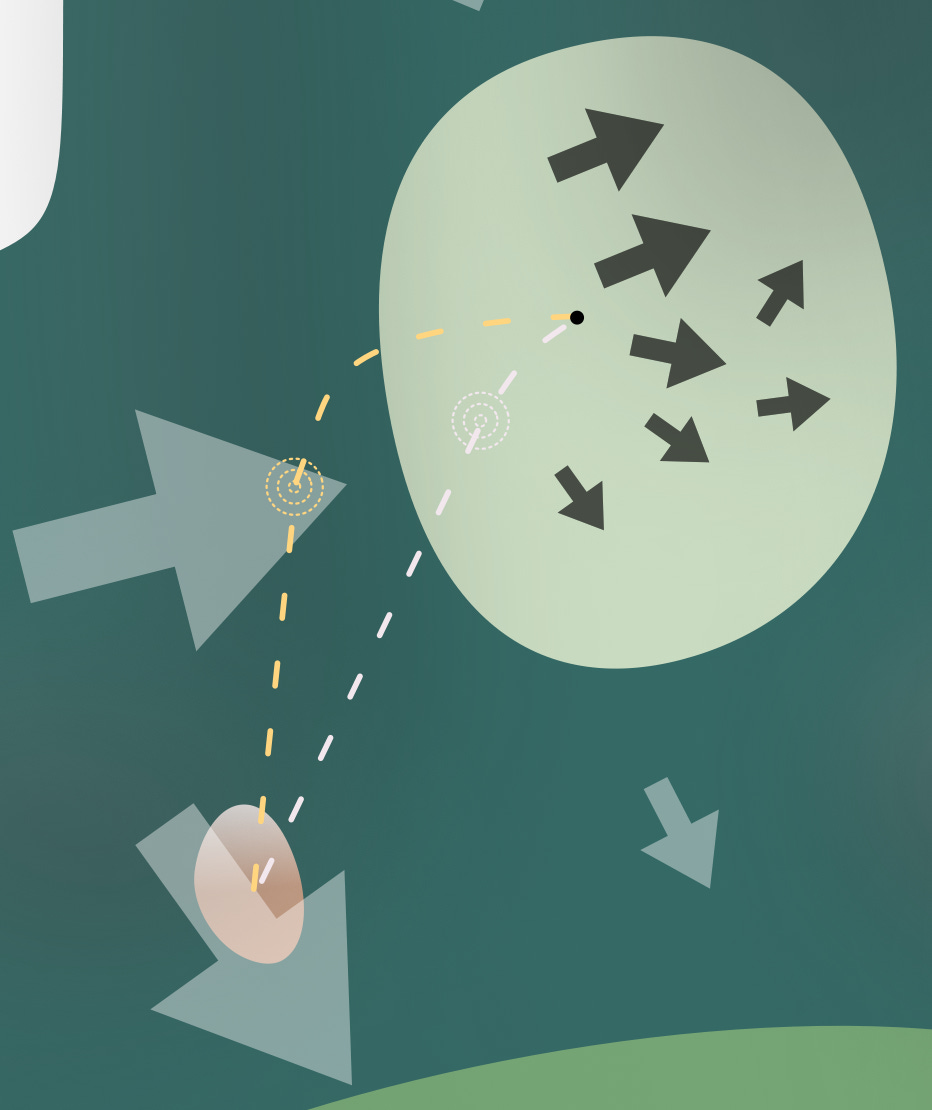
This semi-fallaway green is so important because it interacts with the fairway’s slope to complicate the approach shots from the safest fairway landing zones. Since the green is downhill, and many players will have a downhill lie angle, the obvious miss is a bit too long. Let’s look at how an approach shot being too long will affect the resulting runout on the green:
High shots into the green that run long

Running shots into the green that run long
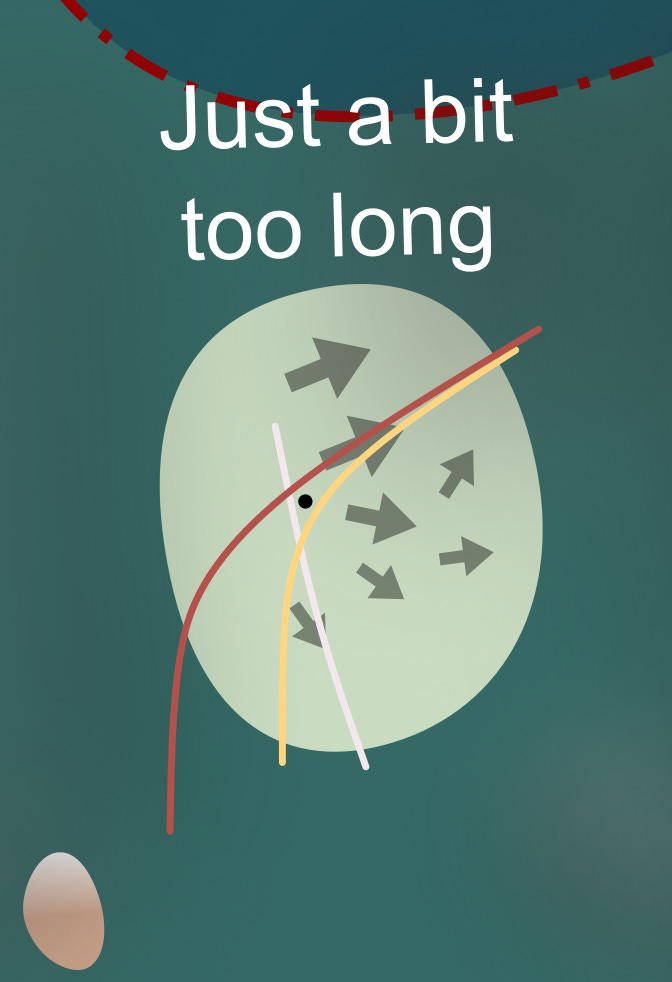
For either style of shot, an approach from the right side can keep the main, dangerous contour out of play.
The Role of the “Thumb” Bunker
A club president once said of this bunker, “It sticks out like a sore thumb,” and I liked the name because it does take the shape of a thumbprint. While it may initially seem out of play, the small bunker short left of the green has an outsized influence on the hole strategy compared to its size.

The bunker is built into a small plateau left of the green. It slopes up at the location of the bunker, but after that the ground turns back toward the green. If a player ends up on the left side position, an obvious safe play to the upper tier of the green would be to use the corner of this plateau to feed the ball right and let it trickle onto the green. The bunker makes that strategy extremely risky, if not impossible. Anyone who wishes to play a running shot into the green will likely need to play it to the front edge and putt from there.
General Strategy on #1
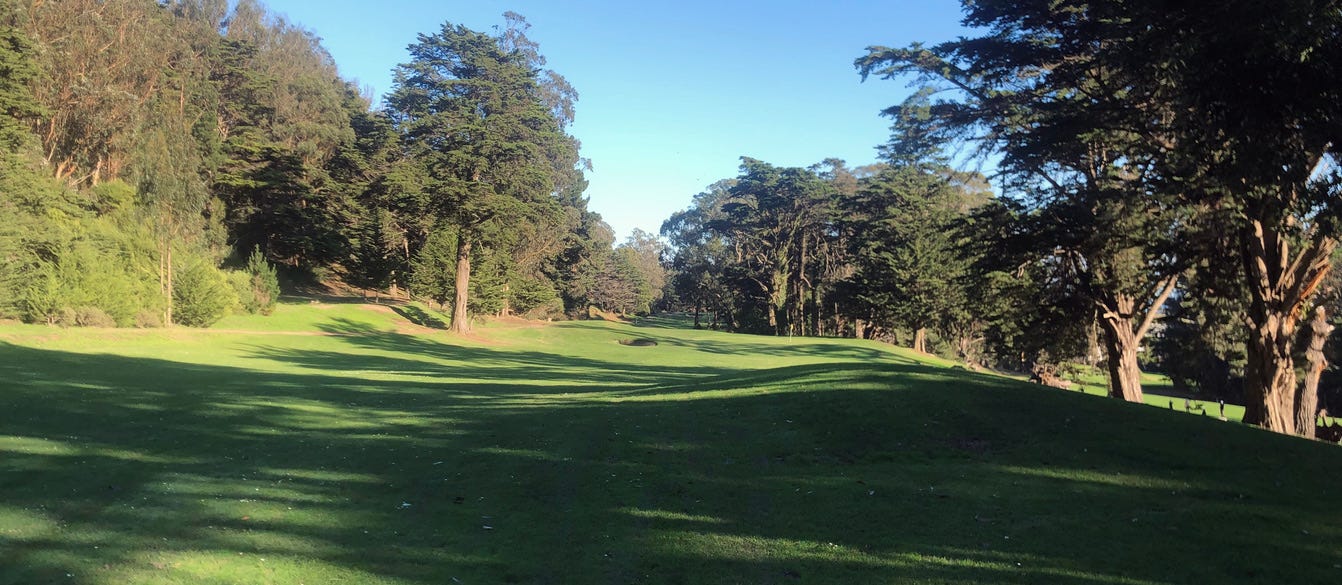
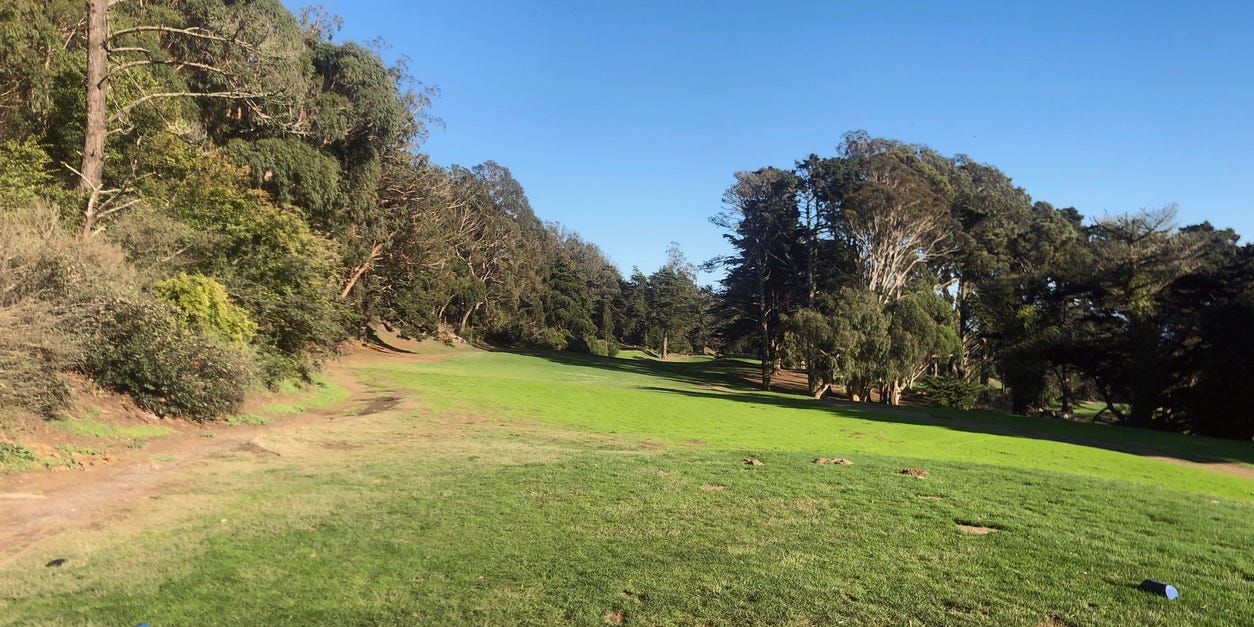
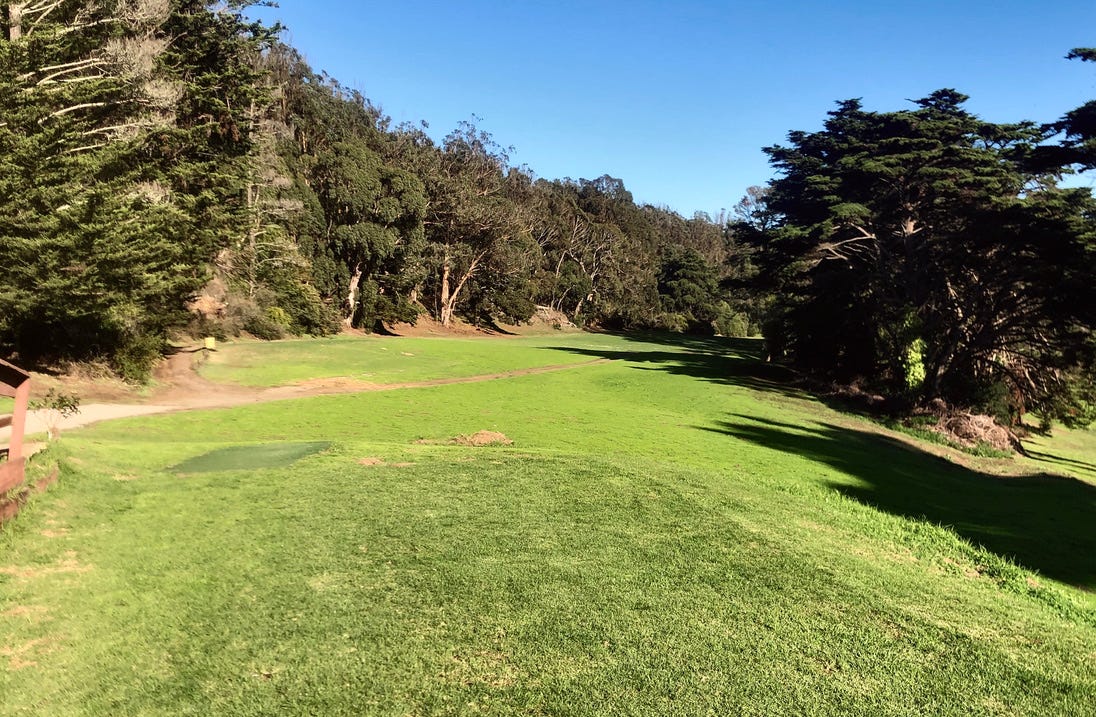
So with all this background, it seems obvious that players should just play to the right side of the fairway off the tee, right? Wrong! Playing to the right side of #1 off the tee is probably the most dangerous shot on the course, and it’ll be the first shot of the day (and there is no range on site to warm up beforehand). The view from the first tee will also influence players’ decisions. The first hole is built into the side of a hill and everything slopes strongly to the right side. Missing to the right side will leave the player down a large slope and behind trees where they will be lucky to even pitch out toward the hole. Even being too far right in the fairway could bring some branches into play that will force a knockdown approach shot.
Everything the player sees from the tee makes it obvious that the safest shot is to the left. Most will play left and hope the ball runs down to the middle. This strategy can work for those who have a tendency to slice or don’t hit the ball very far, but most good shots will carry a ridge about 200 yards away, taking much of the side slope out of play.

The aggressive line needs to successfully cross the ridge. Any mishit along this line could kick right, roll through the trees, and down the hill. Only in the winter, when it’s softer and a bit more forgiving, is there any room for error. This line is rewarding though, as being in the ideal position for the approach has the potential to save the player a half-stroke or more when playing to the upper tier.
In summary, for an average distance player the hole leaves a strong risk-reward option on the tee, but most players won’t realize the benefits from taking this risk. Missing the fairway is disastrous, but the player has a choice of how much risk they want to take when trying to get to a good approach position.
Strategy on #10
When the hole is played from the par five 10th tee, there will be more benefit from distance off the tee. A prevailing tailwind picks up in the late morning, which can help here.
The diagram below might seem far-fetched to some. In the winter, when the course is playing softer, shots to the center of the fairway can hold. However, during dry conditions, it’s entirely possible for a shot to land in the center of the fairway, kick sharply to the right, and roll all the way down the slope and off the hole altogether. Some may complain about fairness here, but thoughtful players will already know how sloped the landing zone is after seeing it on the front nine.

Players must hold the fairway. The safest play will again be aiming for the left side. Even with the inevitable roll out, that play should hold. The only downside with this is a significant loss of distance off the tee. The aggressive line is to cut the corner, over an unplayable area, and move the ball left into the sloping fairway to add significant distance.
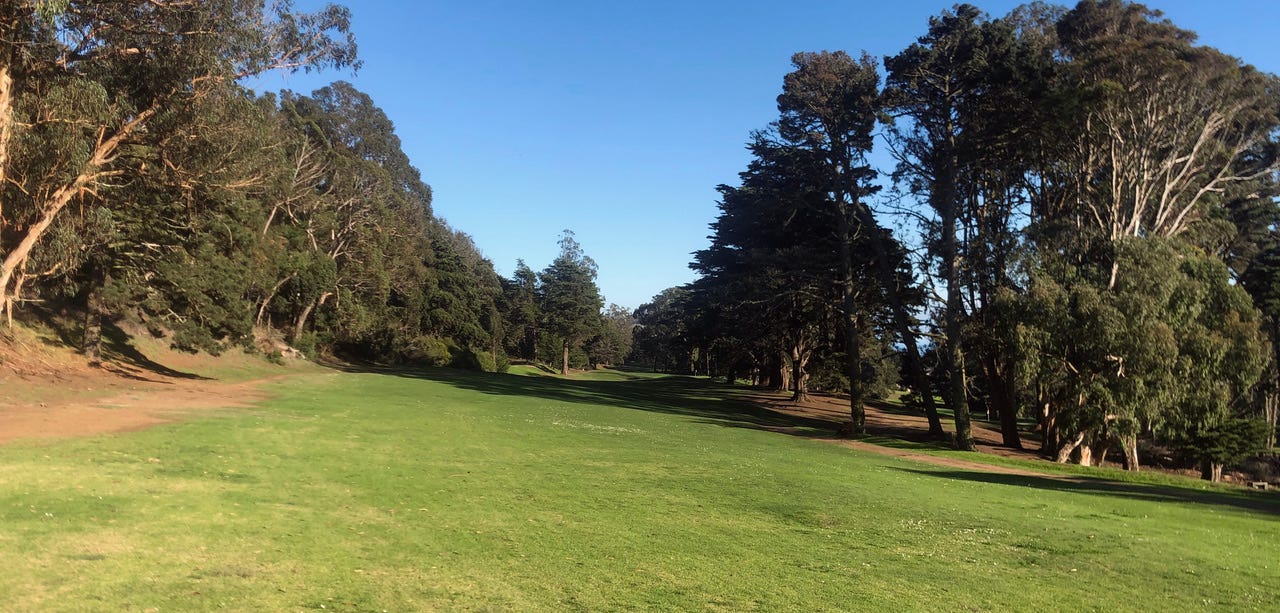
The second shot will be challenging from anywhere in this part of the fairway. Players must be able to play from an uneven lie. Even though many people could reach the green in two from these distances, it’s typically inadvisable to even try. Even laying up here has significant risk. The standard miss will push the ball far to the right into the trees or onto the adjacent hole and holding the green from these distances will be effectively impossible. Distance off the tee is rewarded here with easier club selection, and those who risk a longer lay up can get close enough to have an easy pitch on.
Thoughts on Effective Recoveries From Unfortunate Positions
With the amount of uncertainty here, it’s worth looking at some ways to recover from a bad position. An architectural hallmark of these two holes is that playing for bogey is extremely straightforward. These lines can also be used to try to save par.
When playing #1, players will inevitably end up too far left or short, with the ball below their feet. This is also the position on #10 after a recovery pitch from down the hill. Any attempt to play to the green from this position is fraught and the standard misses (long and right) are severely punished. It’s about 150-175 yards, downhill, with the ball well below the right-handed player’s feet, often with wind at their back later in the day. The shot is just hard to control.

A fairly effective strategy here is to play short of the green, where a mound on the right acts as a backstop. Players can play the ball both in the air or along the ground depending on what they prefer. The mound short-right of the green, combined with the rough, will likely protect players from the worst consequences of the natural misses (right and long). Otherwise the ball would run out into trouble. This leaves an easy chip to the most challenging pin positions and a good chance at par.
Playing out of the bunker also leaves strategic choices. A perfectly played bunker shot is possible, but playing the ball too strongly will likely send the ball down the contour and off the green. Another option players have is to use the slope left of the green. Playing off this slope allows players to miss short or long, while likely leaving a putt for par. There are plenty of options for those who need them.
History and Changes To the Hole
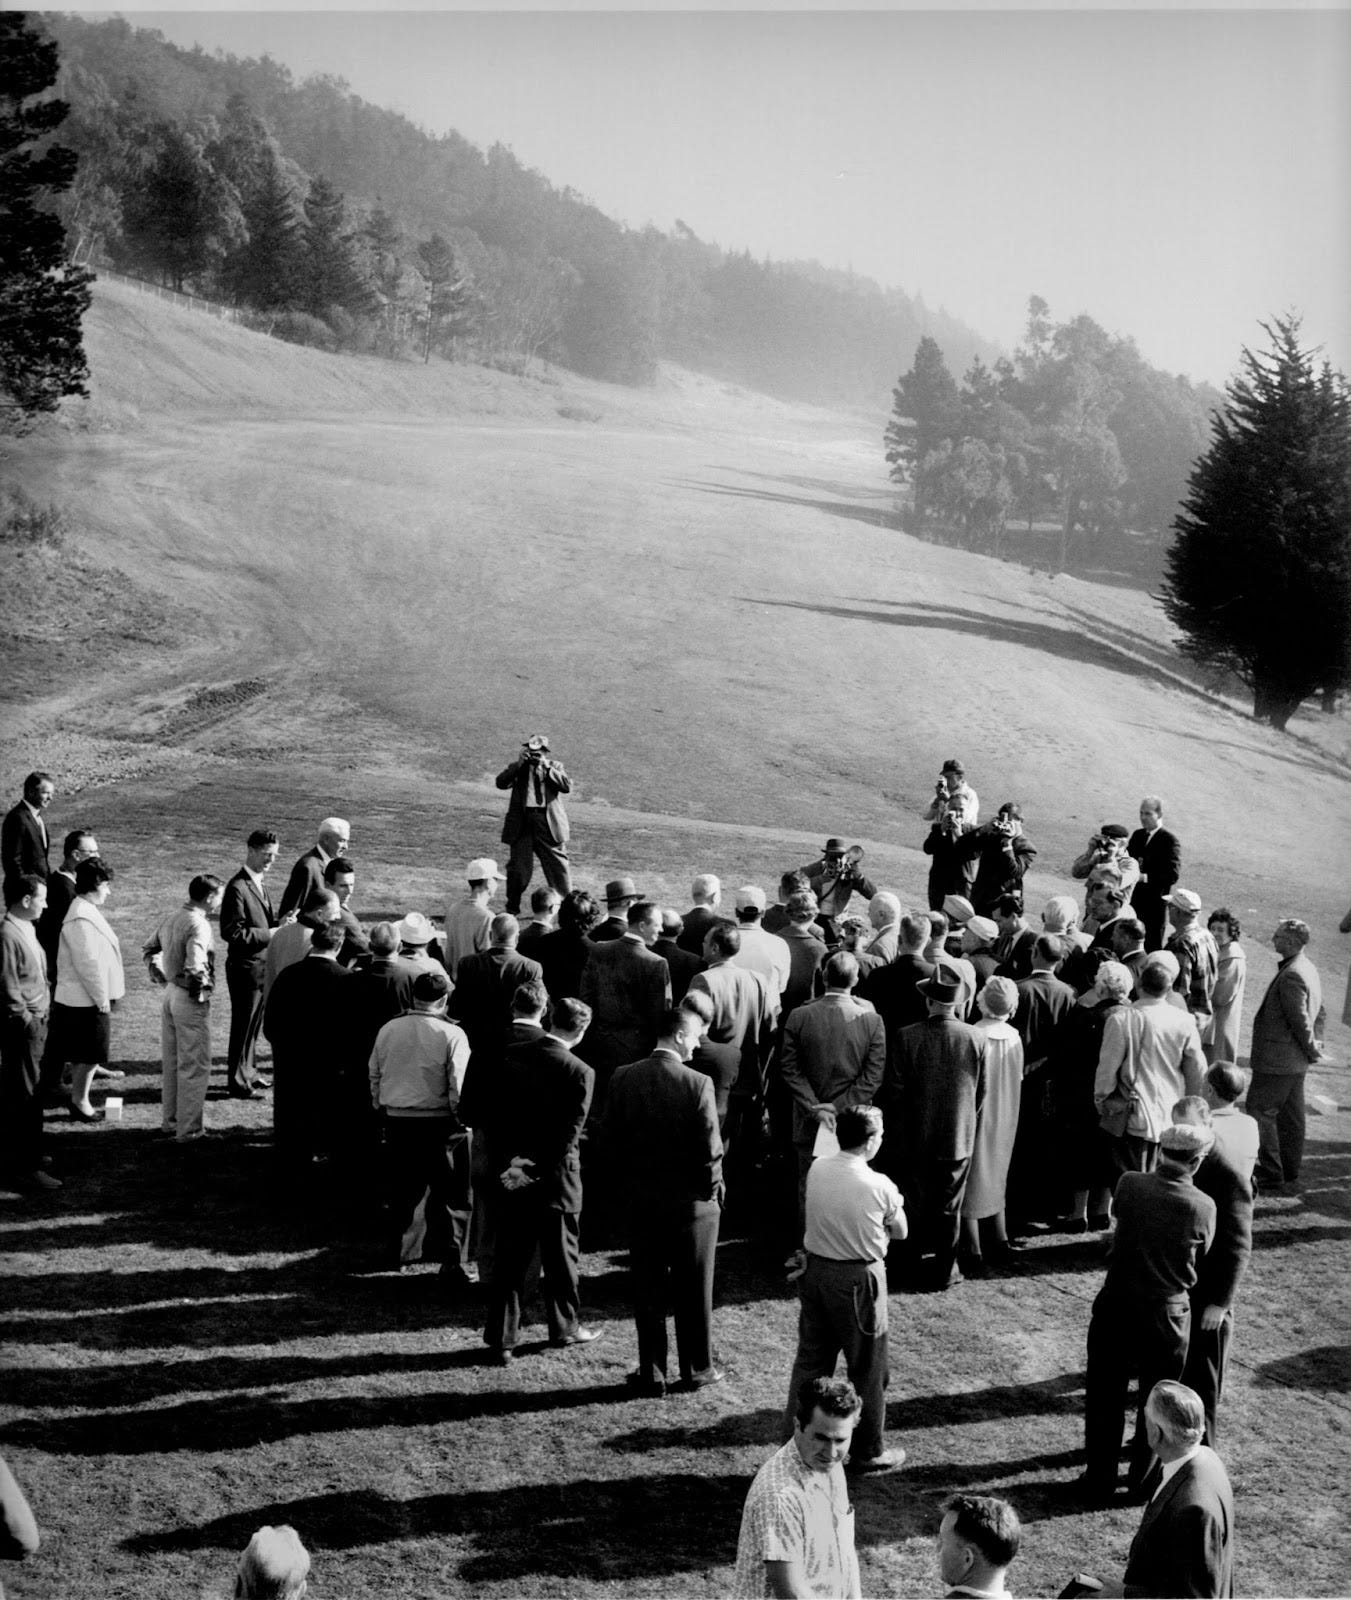
The green here has changed on two occasions. My understanding is that the current green is an homage to the original green. The original green was apparently very similar to the current green, but without the contours. According to older members of the club, it was mostly flat, but was still pitched significantly left-to-back-right, and would send longer shots running past the green.
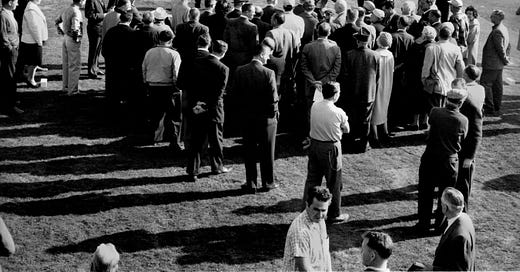
The second version of the green green existed on the shelf, left of the current fairway. This position shortened the hole significantly:
I’ve played the second green location only once. This green location completely changed the way the hole played, and was quite brutal. The green had two distinct regions: a flat front section that led to a domed back section. Players who missed right were left with a near impossible pitch back up to a domed section of the green. Apparently, playing to the back section was effectively impossible, so players were forced to play up to the front no matter what hole location, and no matter where players were taking their approach shot from. Still, some of the best players at the club have praised this layout, and how it rewarded excellent shots.
Overall Thoughts
I think the opening hole at Gleneagles is one of the most interesting holes in the Bay Area. It foreshadows future challenges throughout the course with its tilted playing surface and heavily contoured green. It rewards longer players, but distance off the tee is far from paramount and comes with significant risks. Most of all, the hole rewards strategy and positioning, while allowing players to choose their own level of risk.
The 10th completely changes the way a player must approach the same green. A player with a high risk tolerance, who plays aggressively on the drive, must show restraint on their second shot, or they will likely throw away their advantage.
The changing conditions and hole locations strongly affect strategy and options. No matter where the hole location is, players must consider their landing zone, roll out, and how much risk their lie angle gives them with their shot. The first and tenth at Gleneagles are neither easy nor straightforward. Thoughtful players will always be considering the risks and benefits of different lines when choosing what shots they will take.
Other posts in this series:
#1 & #10: A deep dive into the architecture that makes this intimidating opening hole so interesting.
#2 & #11: A Switch From Strategic to Penal Architecture
#3 & #12: Down the Hill
#4 & #13: Visible and Invisible
#5 & #14: Short and Long
#6 & #15: The Old Road
#7 & #16: Wind Tunnel and Blind Bunkers
#8 & #17: Invisible Redan
#9 & #18: Contours Forever
#19: Old Peculiar’s
The term “ideal” here is a bit presumptuous, but I will use it anyway. I have had a bit of pushback from folks at the lowest handicap at the club, and while some agree, others disagree. This is to be expected. Much of the pushback was from players who are extremely long off the tee. However, here, I will note that I’m talking about shots from standard distance players. Generally speaking, I’d say players with drives between 200 yards-240 yards, including rollout. I see this range as appropriate, given the recreational golfer distance data. This will obviously not apply to folks with more modern distances, as the course was designed with persimmons in mind.








Both layouts are tricky. Actually the whole of Gleneagles is even dependent on time of day you are playing. The wind gets up in the afternoon and is not even consistent in direction just to add another headache / challenge
For sure the hardest course in the Bay Area. Always a challenge. Great write up!